
1. Remove Windows Live Messenger from the computer.
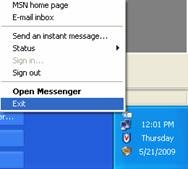
1.a. Beside the time and date of your computer, right-click the Windows Live Messenger icon then click Exit.
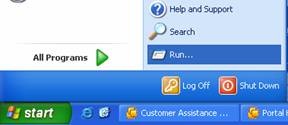
1.b. Click Start, click Run, type control appwiz.cpl and then click OK.

1.c. In the list of currently installed programs, select Windows Live Essentials or Windows Live Messenger, and then click Remove.
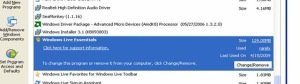
1.d. If you are prompted to confirm, click Yes.


2. Remove the temporary files and folders from the computer.
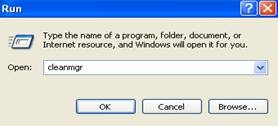
2.a. Click Start, click Run, type cleanmgr and then click OK.
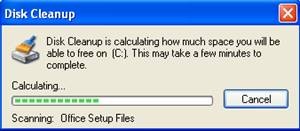
2.b. If you are prompted, click C: in the Select the drive you want to clean up list, and then click OK.
NOTES:
– If you partitioned the hard disk, the CleanMgr utility prompts you to select a drive.
– The Disk Cleanup utility displays how much disk space can be freed.
– This process can take several minutes.
2.c. On the Disk Cleanup tab, make sure that only the following options are selected:
– Downloaded Program Files
– Temporary Internet Files
– Temporary files
– Temporary Offline Files
– Offline Files
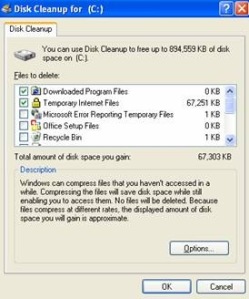
2.d. Click OK two times.
2.e. If you encounter problems removing the temporary files and folders, proceed to the next steps.


3. Delete Windows Live Messenger related cache files.
3.a. Change the Windows Explorer settings.
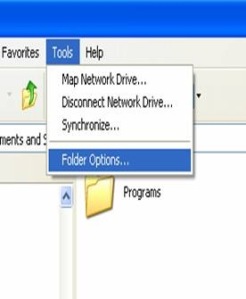
3.a.i. Right-click Start, and then click Explore to open Windows Explorer.
3.a.ii. On the Tools menu, click Folder Options.
3.a.iii. Click the View tab.
3.a.iv. In the Advanced settings list, select Show hidden files and folders under Hidden Files and Folders.
3.a.v. Click to clear the Hide extensions for known file types check box .
3.a.vi. Click OK to close the Folder Options window.

3.b. The following commands delete files that are used when you sign in and files that are related to the Contacts Cache folders.
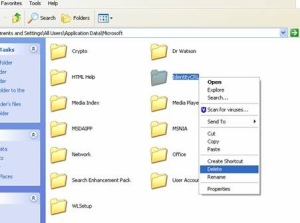
3.b.i. Click Start, click Run, copy and paste this message %USERPROFILE%\Application Data\Microsoft\ and then press Enter. Delete the IdentityCRL folder.
3.b.ii. Click Start, click Run, copy and paste this message %ALLUSERSPROFILE%\Application Data\Microsoft\ and then press Enter. Delete the IdentityCRL folder.
3.b.iii. Click Start, click Run, copy and paste this message %USERPROFILE%\Local Settings\Application Data\Microsoft\ and then press Enter. Delete the Windows Live Contacts folder.
3.b.iv. Click Start, click Run, copy and paste this message %USERPROFILE%\ and then press Enter. Delete the Contacts folder.


4. Delete the Windows Live Messenger-associated registry keys.
IMPORTANT: The following steps contain information about modifying the registry. Before you modify the registry, make sure to back it up, and make sure that you understand how to restore the registry if a problem occurs. For information about how to back up the Windows Registry, please refer to this article.
For information how to restore, and edit the registry, visit the following website:
http://support.microsoft.com/kb/256986
WARNING: If you use Registry Editor incorrectly, you may cause serious problems that may require you to reinstall your operating system. Microsoft cannot guarantee that you can solve problems that result from using Registry Editor incorrectly. Use Registry Editor at your own risk.
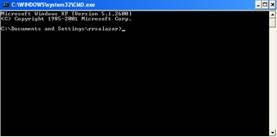
4.a. Click Start, click Run, type CMD and then click OK to open the command window.

4.b. Copy and paste the following commands exactly as they appear below. Press ENTER after typing each command to execute the command.
Note: In some case you may encounter the error that the key does not exist, please proceed to the next command.
REG DELETE "HKLM\Software\Microsoft\Windows Live\Messenger’ /f
REG DELETE HKLM\Software\Microsoft\MSNMessenger /f
REG DELETE HKCU\Software\Microsoft\MSNMessenger /f
REG DELETE "HKCU\Software\Microsoft\Windows Live\Communications Clients\Shared" /f
REG DELETE HKCU\Software\Microsoft\IdentityCRL /f


5. Restart the computer.
6. Install a fresh copy of the program. You may download it from:
